ClearVu fencing, known for its high security and visibility, is a preferred choice for perimeter protection in various settings. This comprehensive ClearVu Fence Installation Manual provides step-by-step instructions to ensure a proper and secure installation of your ClearVu fence system, incorporating essential tips and best practices.
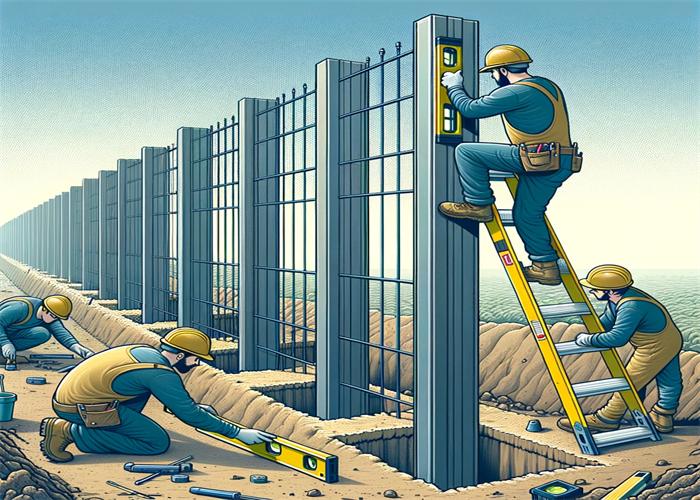
1: Site Preparation
- Survey the Area: Before beginning, carefully assess the installation site to identify any potential obstacles such as trees, debris, or uneven terrain that may impact the fence line.
- Mark the Fence Line: Use a measuring tape, string line, or spray paint to accurately mark out the fence line. Consider any required adjustments for obstacles or terrain changes.
![]()
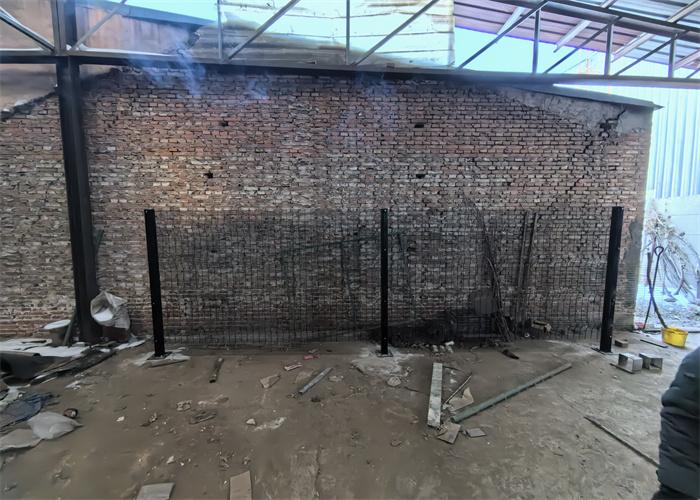
2: Setting the Posts
- Post Specifications: Utilize Cochrane Taper Locking Posts, which are ___m in length, tapering from 85mm to 45mm with a depth of 85mm.
- Hole Preparation: Dig holes for the posts as specified, typically measuring 600mm x 400mm², and prepare them with 15Mpa concrete.
- Installation: Position the posts in the holes, ensuring they are perfectly vertical with a level. Fill with concrete and allow it to set as per the manufacturer’s instructions.
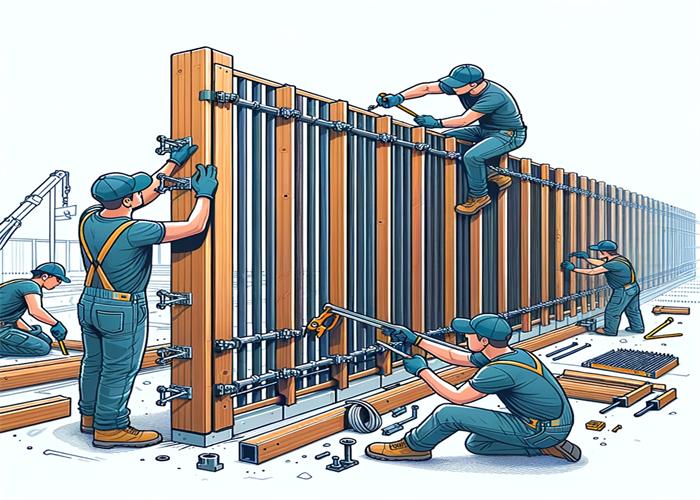
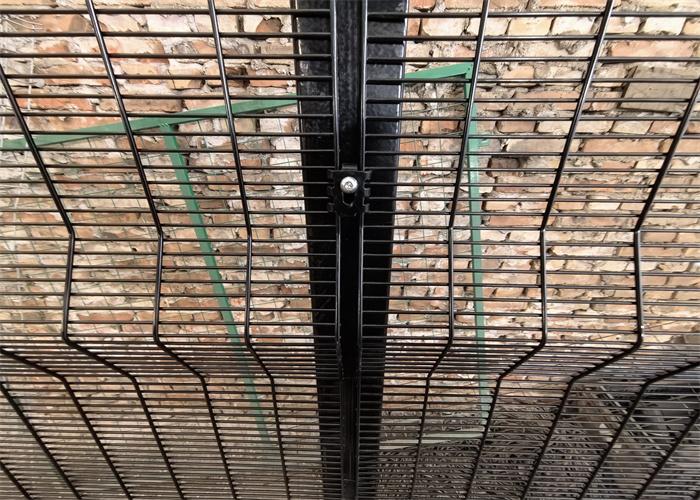
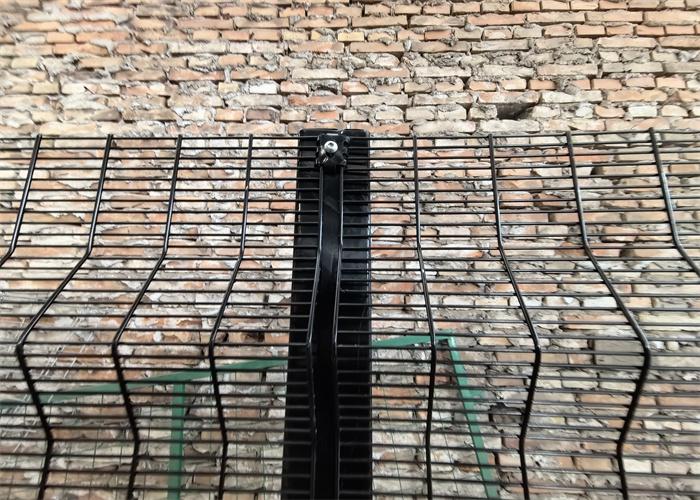
3: Installing Panels following ClearVu Fence Installation Manual
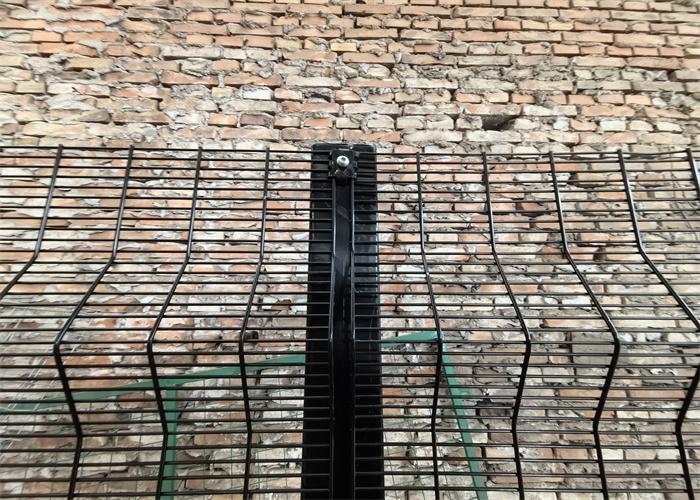
- Panel Measurements: Ensure panels are 3297mm or 3305mm in width and of a specified height, featuring an aperture size of 76.2mm x 12.7mm.
- Securing Panels: Attach the panels to the posts using 48 line wires, double and single bolt comb clamps, and anti-vandal bolts. Make sure all fixtures are inside the fence line to deter climbing.
4: Adding Topping Options
- Enhanced Security: For added protection, install topping options such as Shark Tooth, Castle, or Spear spikes at 150mm intervals using anti-vandal bolts. Optionally, install a Ripper Blade Smart Concertina Coil to the post for anti-scaling measures.

5: Finishing Touches
- Inspection: Conduct a thorough check to ensure stability and security.
- Post Sealing: Apply UV-stabilized polymer caps to all posts for durability.
- Galvanization: Ensure the entire system is galvanized for longevity, as specified.

Additional Steps for Comprehensive ClearVu Fence Installation Manual
- Measure and Mark Out: Initially determine the fence line length and position, marking accurately to account for any site-specific considerations.
- Post Spacing: Install fence posts at intervals based on ClearVu panel specifications, typically around 3297mm to 3305 mm apart.
- Concrete Curing: Allow the concrete to cure for at least 24 hours before attaching panels.
- Panel Attachment: Secure fence panels to posts with brackets and screws, ensuring they are level and have a small gap between them for thermal expansion.
- Additional Components: Install gates, latches, and caps as per manufacturer instructions.
- Cleanup: Ensure the work area is clean and free of debris upon completion.
Important Considerations
- Compliance: Always adhere to local regulations and standards for fencing installation.
- Professional Consultation: For complex installations or challenging environments, seeking the assistance of a professional is advised.
- Maintenance: Regular maintenance checks are crucial to maintain the integrity and security of the fence.
Conclusion
Following this comprehensive ClearVu Fence Installation Manual will ensure the successful installation of your ClearVu fencing system, providing optimal security and durability. Remember to consult the manufacturer’s specific product instructions for any variations in the installation process and to ensure the use of the correct tools and materials for your specific ClearVu fencing model.